EG254S: IoT System Project - IoT Devices

Constructing the Rat-Bait-Station
The Rat-Bait-Station will be handmade and customised for this project, instead of replicating or modifying any rat bait station available in the market.
Requirement
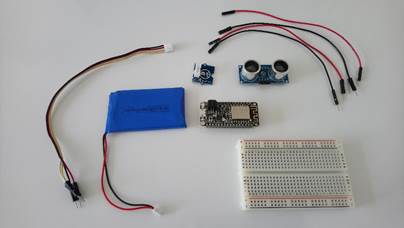
We will need the following items to complete this task.
- 2 plastic containers
- Breadboard
- Jumper wires
- Touch sensor
- Ultrasonic sensor
- ESP8266
- Lithium Battery
|
|
|
So, let’s get started...
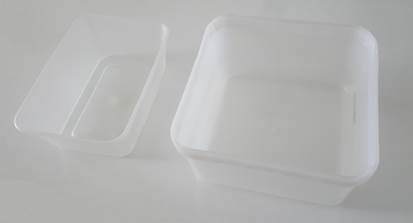
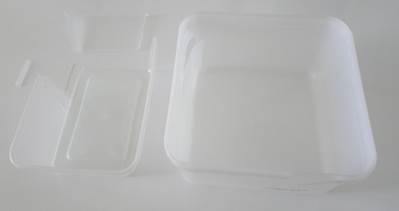
Step 1: Constructing the Station Shell
For the 2 plastic containers, we can re-use a food-container and an ice-cream container. Use a penknife and carefully cut an opening, which shall be the rat entrance, for the ice-cream container. Cut off a portion of the food-container (as shown below) in order to fit into the ice-cream container:
|
|
|

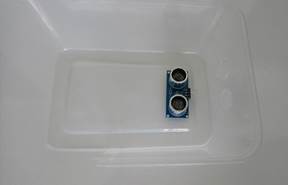
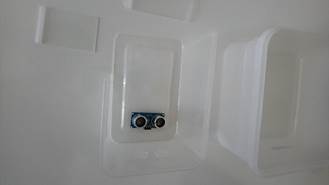
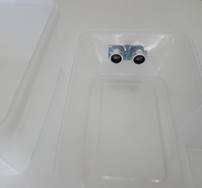
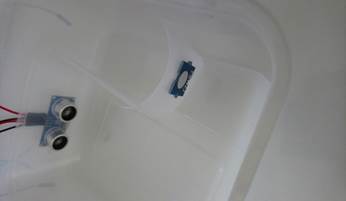
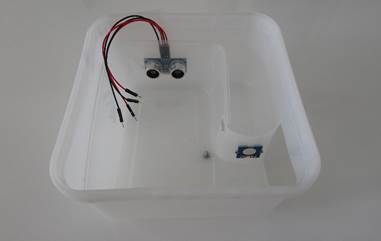
Step 2: Fixing the Ultrasonic Sensor to the Station
Cut out two holes on the food container according to size to attach the ultrasonic sensor to it.
|
|
|
|
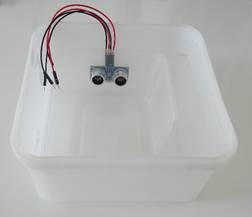
Attach the jumper wires to the ultrasonic sensor.
|
|
|

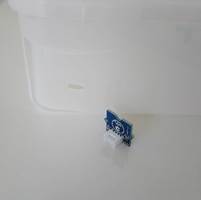
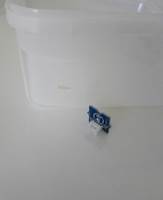
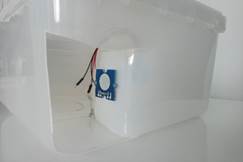
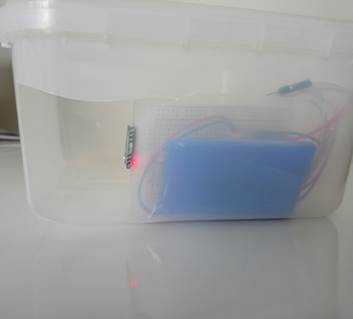
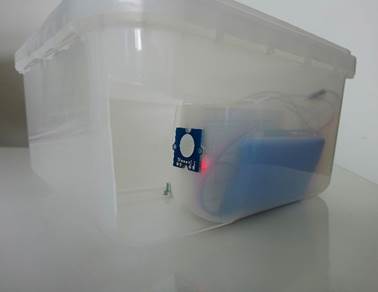
Step 3: Fixing the Touch Sensor to the Station
Cut out a hole at the cut entrance opening of the ice-cream container.
|
|
|
|
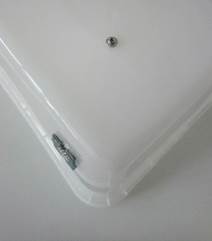
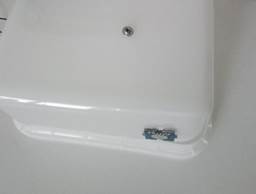
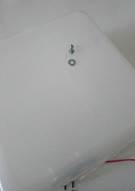
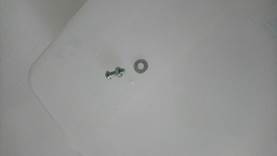
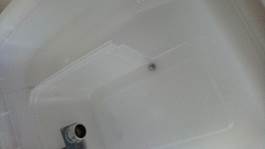
Step 4: Secure the inner Container to the Main Container
Place the food-container (inner) into the ice-cream container (main), position it correctly and punch a hole on the bottom. Apply super glue on the base of the inner container and glue it inside the main container. Securely screw the bolt and nut to anchor the inner container to the main container.
 |
||||||||||||||
 |
||||||||||||||
 |
||||||||||||||
 |
||||||||||||||
 |
||||||||||||||
 |
||||||||||||||
 |
||||||||||||||
 |
||||||||||||||
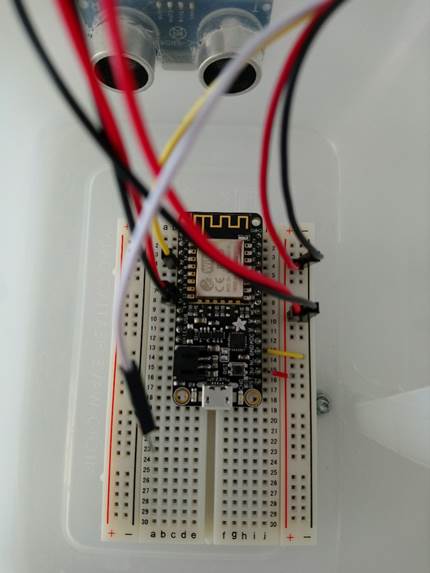
Step 5: Connect the Sensors to the ESP8266
Fix the ESP8266 on the breadboard. Connect up both sensors using the jumper wires to the ESP8266 using the breadboard. (Refer to Sensors for the Rat-Bait-Station for the wirings.)

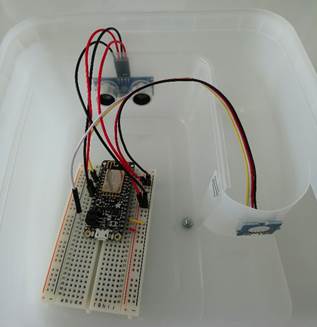
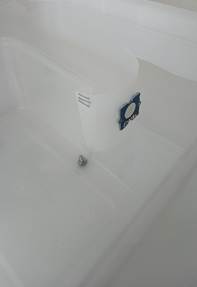
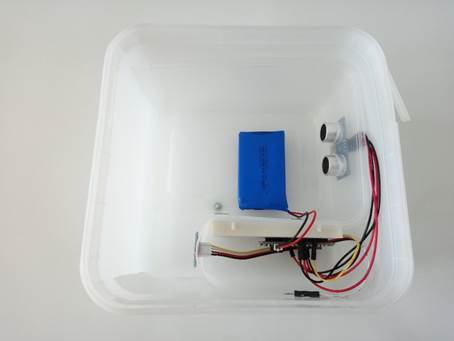
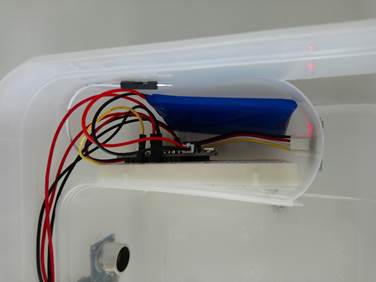
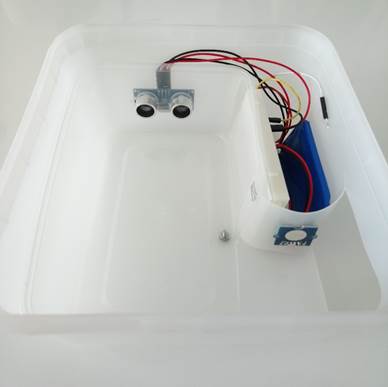
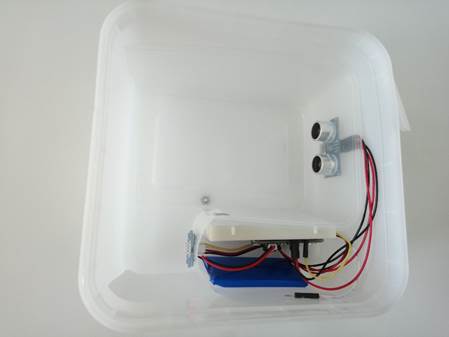
Step 6: The Final Touches
Tidy the wires and place the breadboard together with the lithium battery to the holding place in between the inner and the main container. Now, we have the completed construction of the Rat-Bait-Station.
 |
|||||||||||
 |
|||||||||||
 |
|||||||||||
 |
|||||||||||
 |
|||||||||||
 |
|||||||||||
.