ET1530: Project - Week 2 - 3
Installing Apache2 Web Server on Ubuntu
(Adapted from: https://help.ubuntu.com)
Apache is the most commonly used Web server on Linux systems. Web servers are used to serve Web pages requested by client computers. Clients typically request and view Web pages using Web browser applications such as Firefox, Opera, Chromium, or Internet Explorer.
The most common protocol used to transfer Web pages is the Hyper Text Transfer Protocol (HTTP). Protocols such as Hyper Text Transfer Protocol over Secure Sockets Layer (HTTPS), and File Transfer Protocol (FTP), a protocol for uploading and downloading files, are also supported.
Apache Web Servers are often used in combination with the MySQL database engine, the HyperText Preprocessor (PHP) scripting language, and other popular scripting languages such as Python and Perl. This configuration is termed LAMP (Linux, Apache, MySQL and Perl/Python/PHP) and forms a powerful and robust platform for the development and deployment of Web-based applications.
Installation
The Apache2 web server is available in Ubuntu Linux. To install Apache2, we do an apt-get update and followed by installing apache:
sudo apt-get update
sudo apt-get install apache2
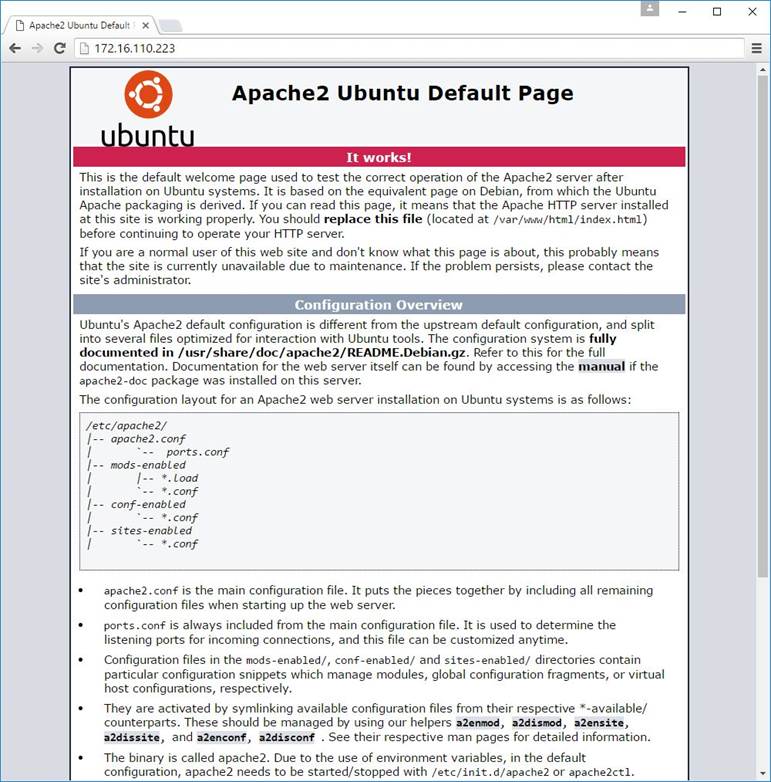
To check if Apache is installed, direct the browser to the server’s IP address (http://172.16.110.223). The page should display as follows:
Basic Settings
Apache2 ships with a virtual-host-friendly default configuration. That is, it is configured with a single default virtual host (using the VirtualHost directive) which can be modified or used as-is if you have a single site, or used as a template for additional virtual hosts if you have multiple sites. If left alone, the default virtual host will serve as your default site, or the site users will see if the URL they enter does not match the ServerName directive of any of your custom sites. To modify the default virtual host, edit the file /etc/apache2/sites-available/000-default.conf.
We shall configure a new virtual host or site, copy that file into the same directory with the name vm223.t933.lab.conf:
sudo cp /etc/apache2/sites-available/000-default.conf /etc/apache2/sites-available/vm223.t933.lab.conf
Edit the new file to configure the new site using some of the directives described below.
The ServerName directive is optional and specifies what FQDN your site should answer to. The default virtual host has no ServerName directive specified, so it will respond to all requests that do not match a ServerName directive in another virtual host. Since we have just acquired the domain name vm223.t933.lab and wish to host it on your Ubuntu server, the value of the ServerName directive in our virtual host configuration file should be vm223.t933.lab. Add this directive to the new virtual host file we created earlier (/etc/apache2/sites-available/vm223.t933.lab.conf).
sudo nano /etc/apache2/sites-available/vm223.t933.lab.conf
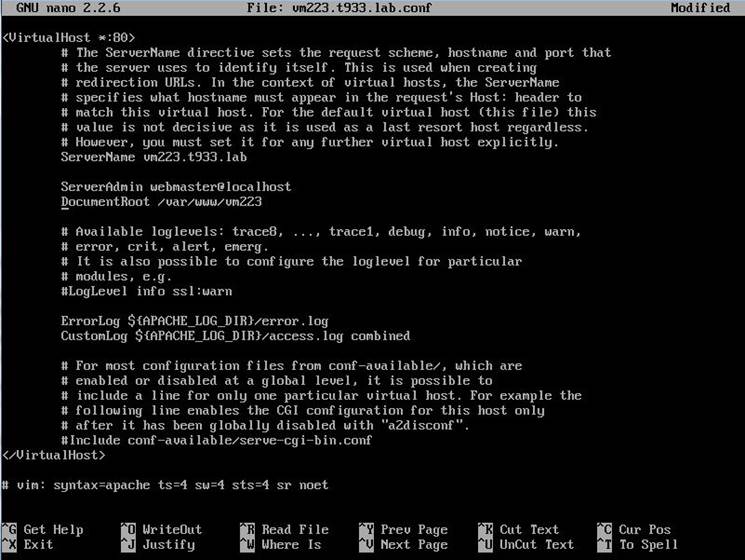
We will replace the commented line #ServerName www.example.com with the uncommented line ServerName vm223.t933.lab:
ServerName vm223.t933.lab
The DocumentRoot directive specifies where Apache2 should look for the files that make up the site. The default value is /var/www/html, as specified in /etc/apache2/sites-available/000-default.conf. We need to change this value in our site's virtual host file, and to create that directory!
Under DocumentRoot; we specify /var/www/vm223:
DocumentRoot /var/www/vm223
This is what we get, after the changes:
Now that vm223.t933.lab.conf is configured, the directory needs to be created. From the terminal enter:
sudo mkdir /var/www/vm223
Finally, enable the new VirtualHost using the a2ensite utility and restart Apache2:
sudo a2ensite vm223.t933.lab
sudo service apache2 reload
We open the browser and test that it works by entering http://vm223.t933.lab :

Could not Reliably Determine the Server’s Fully Qualified Domain Name?
This is just a friendly warning and not really a problem (as in that something does not work) whenever we restart apache2 server.
In order to solve this message in Apache 2.4, we have to create a configuration file inside the conf-available directory. This can all be done in a single command with the following:
echo "ServerName vm223.t933.lab" | sudo tee /etc/apache2/conf-available/fqdn.conf
Next, enable this configuration. For this, run the following command:
sudo a2enconf fqdn
After this reload the server and the above message will no longer appear.
sudo service apache2 reload
Finally, the message will not be shown again and the problem will be fixed.