ET1530: Project - Week 1 - 2
How to Install Ubuntu Server 14.04 LTS
(Adapted from: http://ubuntuserverguide.com)
This guide will describe the basic steps of installing Ubuntu Server 14.04 from beginning to end.
More detail about Ubuntu Server 14.04 LTS you can found the full release notes at here.
Step by Step Installing Ubuntu Server 14.04
Step 1. First, Download Ubuntu Server 14.04 LTS from Ubuntu official site or click the following link to download
the Ubuntu Server:
- Download Ubuntu Server 14.04 32 bit
Step 2. After downloaded, we shall install it in VM Server. Click on: How to Create VM Based Linux Server.
The system will boot (start) from the VMware Player and the following appears:
Select the language to install. Use English language.

Step 3. Select: Install Ubuntu Server

Step 4. Select the language that is used for the installation process, default English

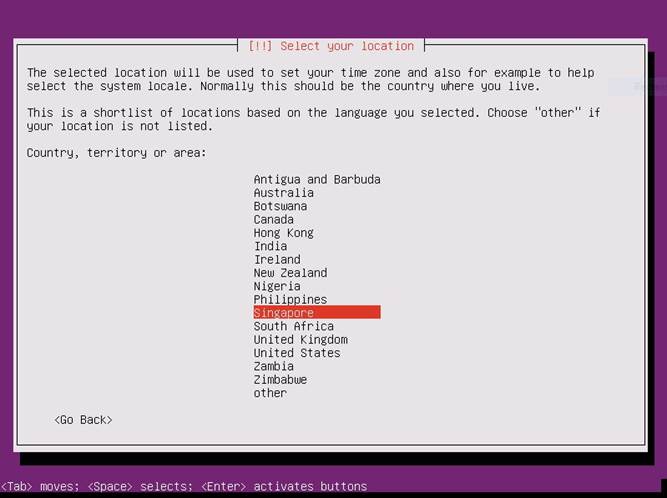
Step 5. Select the location: Singapore, that will be used for time zone and also for example to help select the system locale
Step 6. Configure keyboard layout. Select <No>

Step 8. Select the country of origin for the keyboard. Use the English (US).

Step 9. Select the layout matching the keyboard for the machine. Default English (US)

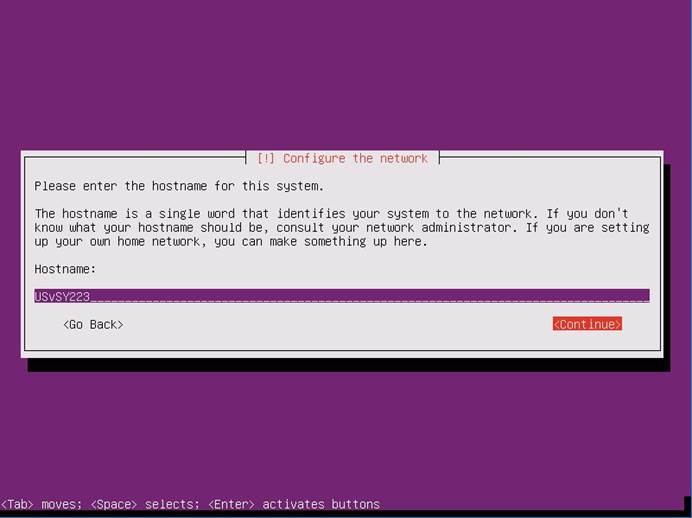
Step 10. Configure the network. Enter hostname: USvSY223
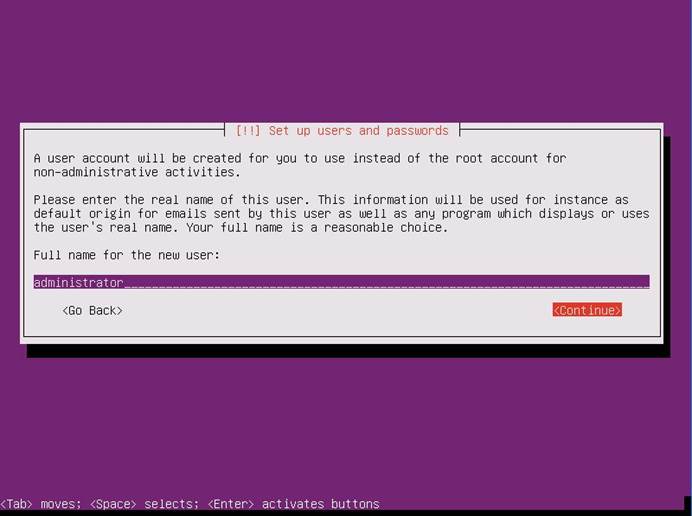
Step 11. Set Up users and password: Enter full name or real name for the new user, then select <Continue>
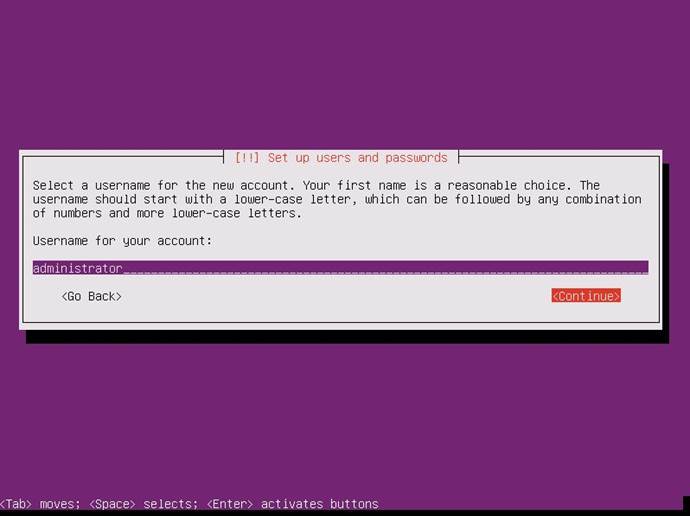
Step 12. Set Up users and password: Enter name for the account, then select <Continue>
Step 13. Set Up users and password: Enter password for the new user (pass123)

Step 14. Set Up users and password: Re-enter password for the new user

Step 15. Set Up users and password: Answer <Yes> to encrypt home directory. Answer <No> because if the hard drive ever gets corrupted and we need to retrieve information it will be much easier to access it.

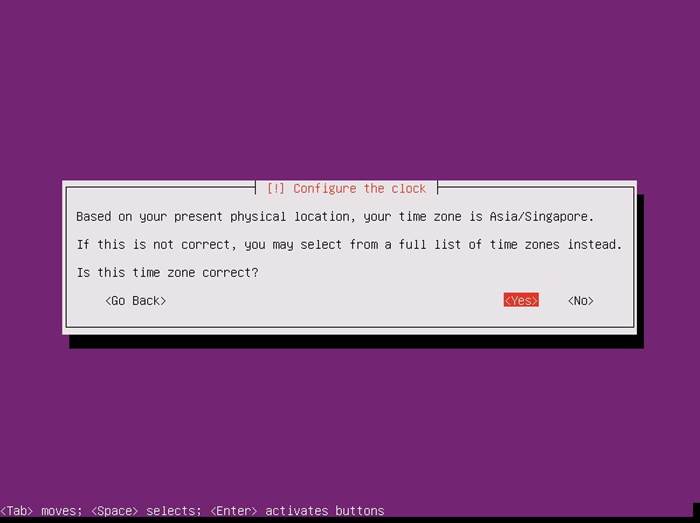
Step 16. Select the time zone Asia/Singapore. Answer <Yes>
Step 17. Partitioning Disks: In this case, use partitioning method LVM

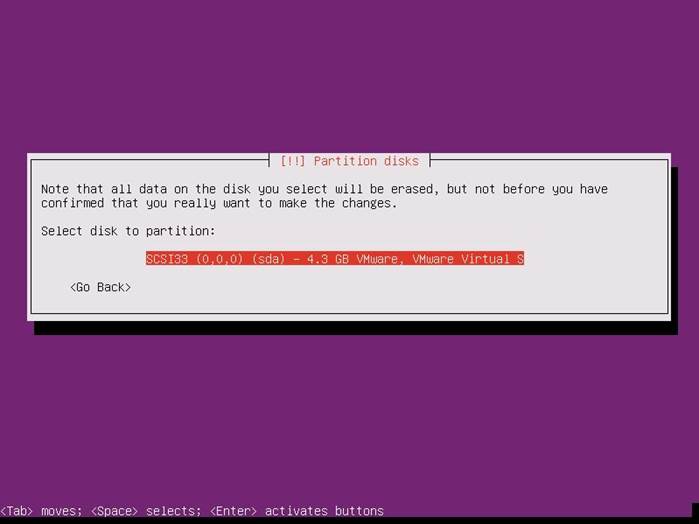
Step 17. Partitioning Disks: Select Disk to partition
Step 18. Partitioning Disks: Answer <Yes> to write the change to disk and configure LVM

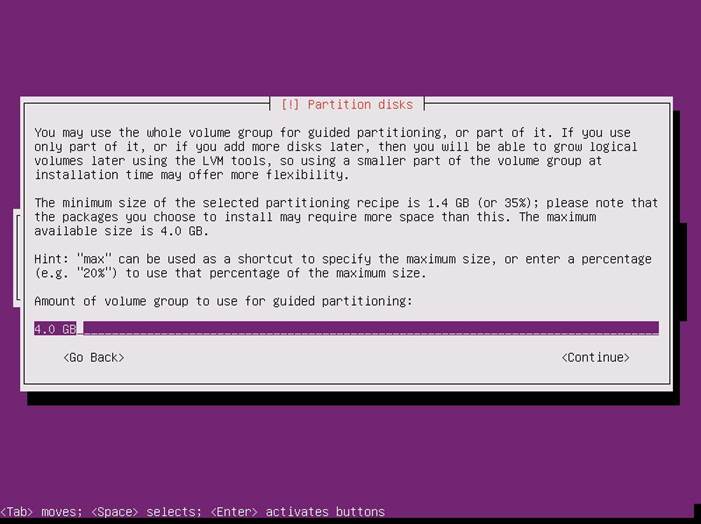
Step 19. Partitioning Disks: Assign the size/amount of volume group to use for guided partitioning. <Continue> to accept 4.0 GB.
Step 20. Partitioning Disks: Answer <Yes> to write the change to disks

Step 21. Installing the system ...

Step 22. Configure HTTP Proxy: Select <Continue> unless using a proxy, in this case we are not.

Step 23. Configure tasksel: Select No automatic updates

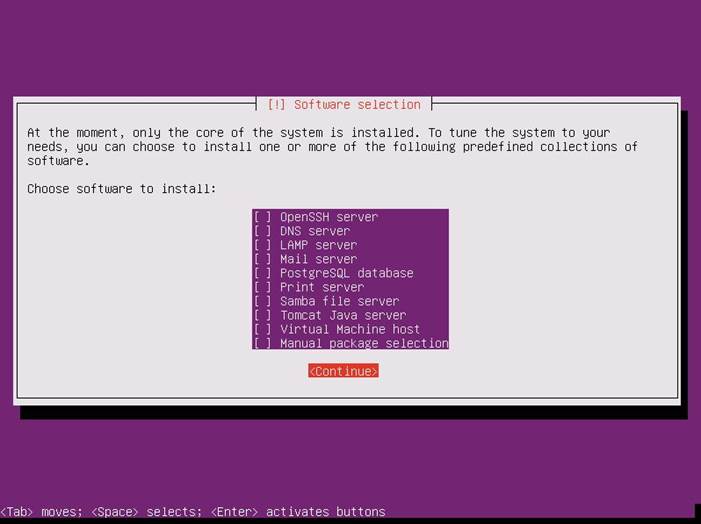
Step 24. Software Selection: To select [*] software by pressing space key on keyboard. We will not install any software at this moment.
Select <Continue>
Step 24. Installing all Software.

Step 25. Answer <YES> to Install the GRUB boot loader on the hard disk.

Step 25. Installation is complete. Select <Continue>

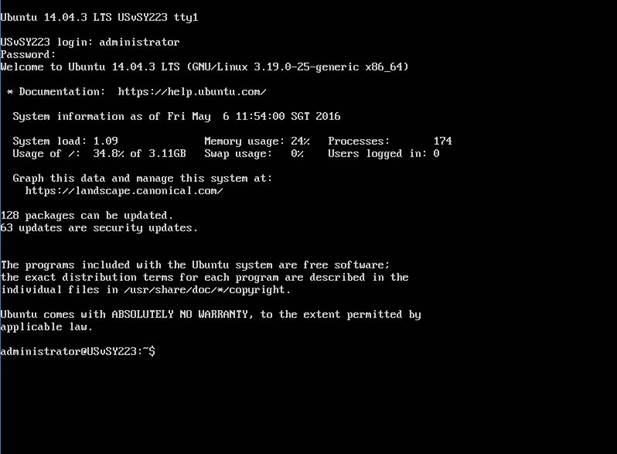
Ubuntu Server 14.04 is ready to use...
The following video created by LinuxScoop and is describes basic steps how to installing Ubuntu Server 14.04 LTS from beginning to end. Original Video found here
Link Reference: